
Do your kids love to make a different kind of DIY Christmas card each year? Do you struggle to come up with new ideas that will be simple enough for them to make without getting frustrated?
Well, you needn’t worry, as this year we are joining lots of amazing bloggers in sharing their kid-made Christmas card ideas. Yesterday Kate at Crafts on Sea shared her gorgeous DIY driftwood Christmas tree card.
The tutorials are easy enough for children to create and you can find all of them over at The Mad House.

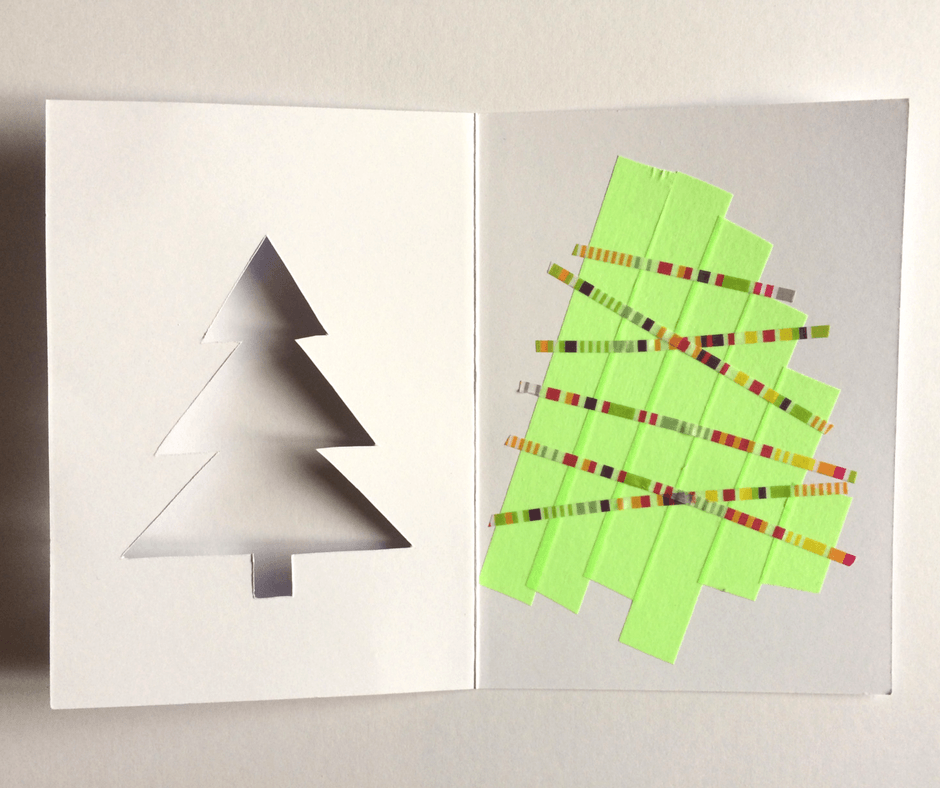
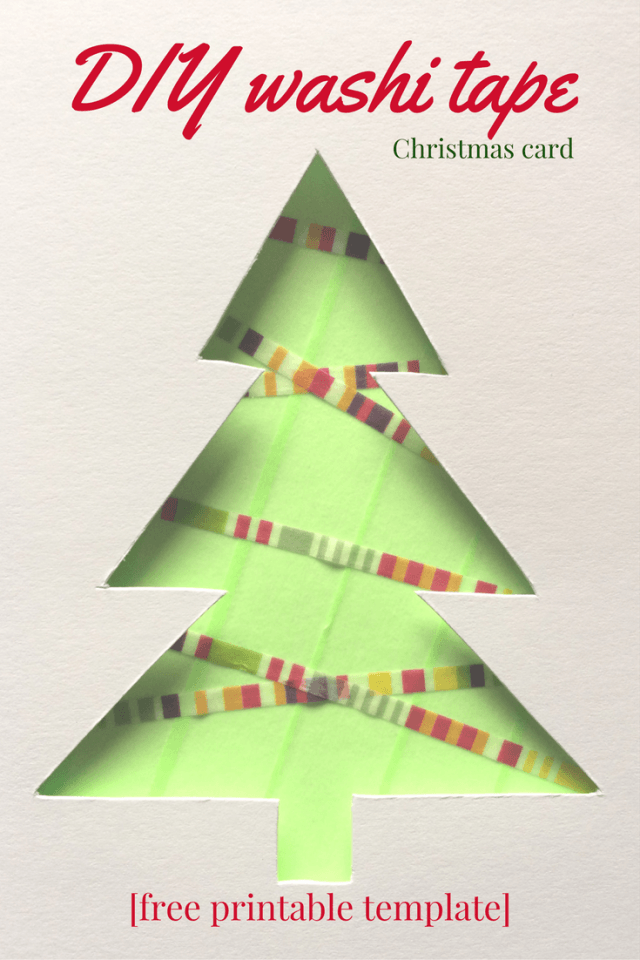
Of course our DIY Christmas card is made using washi tape (bonus – no glue or glitter to clear up afterwards)! It’s a simple Christmas tree shaped aperture card and we’ve also made a free printable template for you to use.
To make a washi tape DIY Christmas card, you will need:
- a sheet of A4 card (we used white, but of course other colours would work just as well)
- a printer
- this free printable template [click to download the pdf]
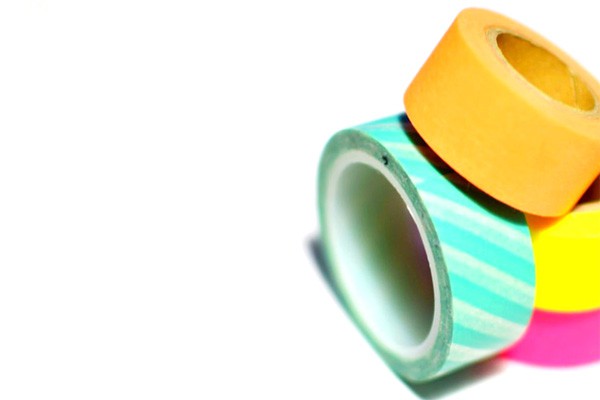
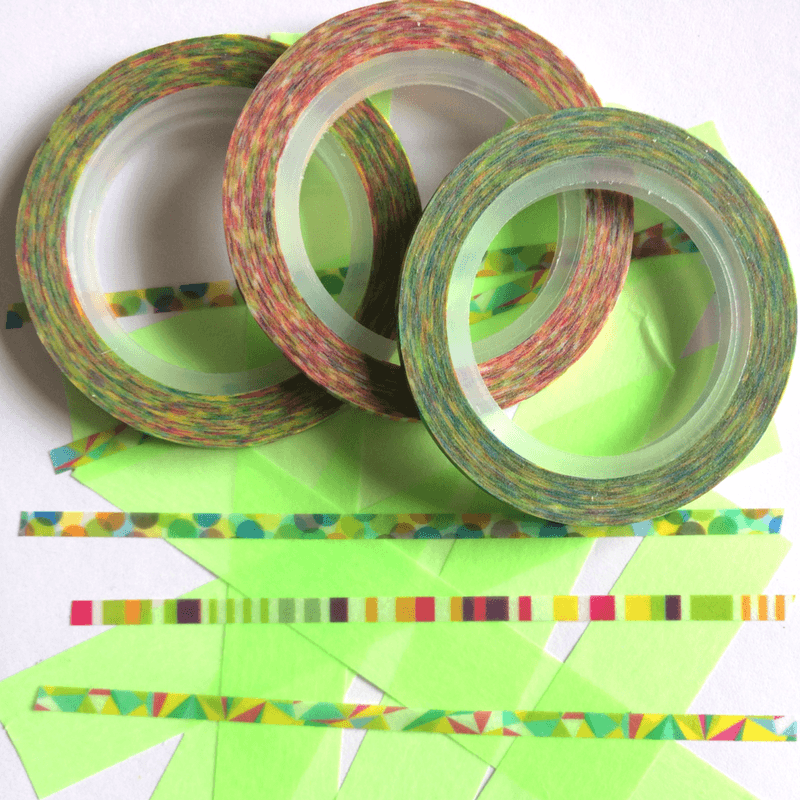
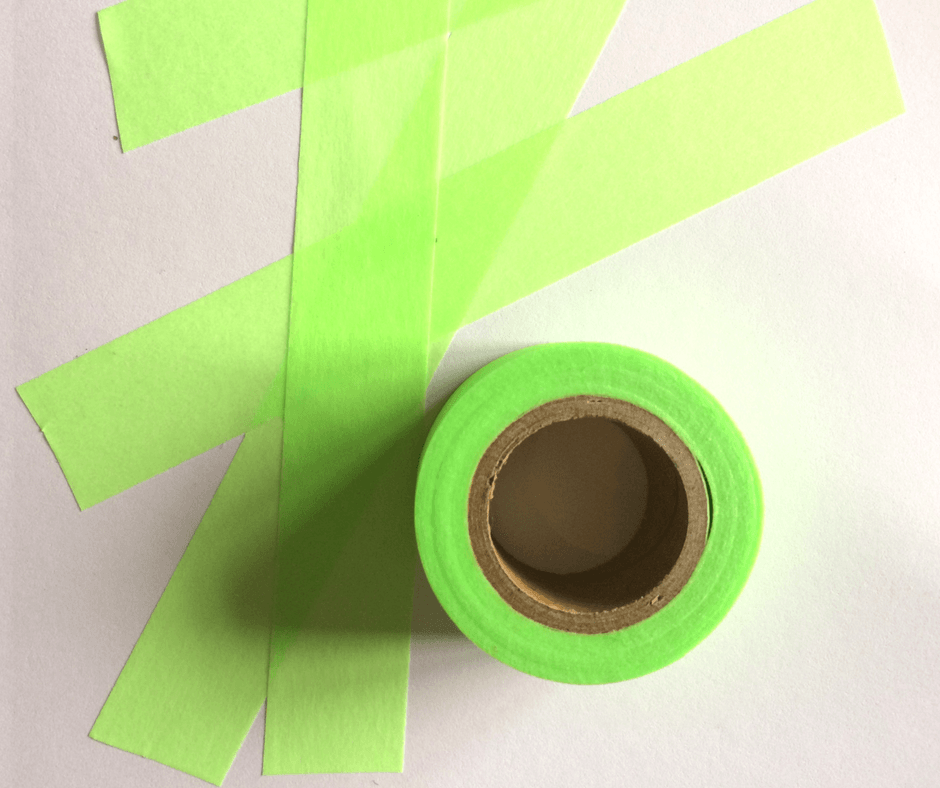
- green washi tape
- other coloured/patterned washi tapes (we found that slim washi tapes gave the best effect)
- scissors
- a ball of plasticine (or similar)
How to make a washi tape DIY Christmas card
Part 1: printing and cutting
- Print the template (download for free by clicking the link in the ‘what you need’ section above) onto your A4 card, but do not fold the card yet.
- Use your scissors to poke a hole inside the tree shape (this will make it much easier to cut out). The safest way to do this, is to put a ball of plasticine (or similar) onto your table, stick the card on top and then poke your scissors through into the plasticine. With toddlers of course you will have to do the cutting for them, but preschoolers should be able to do this if supervised.
- Once you have a hole in the tree shape of the card, take it off the plasticine and use your scissors to enlarge the hole and then snip outwards to create the tree shape (straight lines are easier to cut than curved ones of course). Again, young children will need supervision and perhaps a little help here.

Part 2: the best bit!
- Now fold your card in half, with the tree shaped window being the front.
- Open your card and add strips of green washi tape to create a background. Even very small children can join in with this bit, as it doesn’t have to be at all neat. The great thing about washi tape is that it can be torn easily, so you don’t even need to use scissors here.
- Once the space is largely covered in green washi, add thin, horizontal strips of colourful, patterned washi tape on top to suggest tinsel. You could also add stickers or sequins for baubles here, but we preferred the less-is-more look!
- Close your card and admire your beautiful Christmas tree!
What do you think? Would your kids like to make this washi tape DIY Christmas tree card?
Click on the Pinterest button below this image to Pin it for next year.
Another GREAT reason to love wash tape!
I love that washi tape. Such a simple idea but easy enough for little hands.