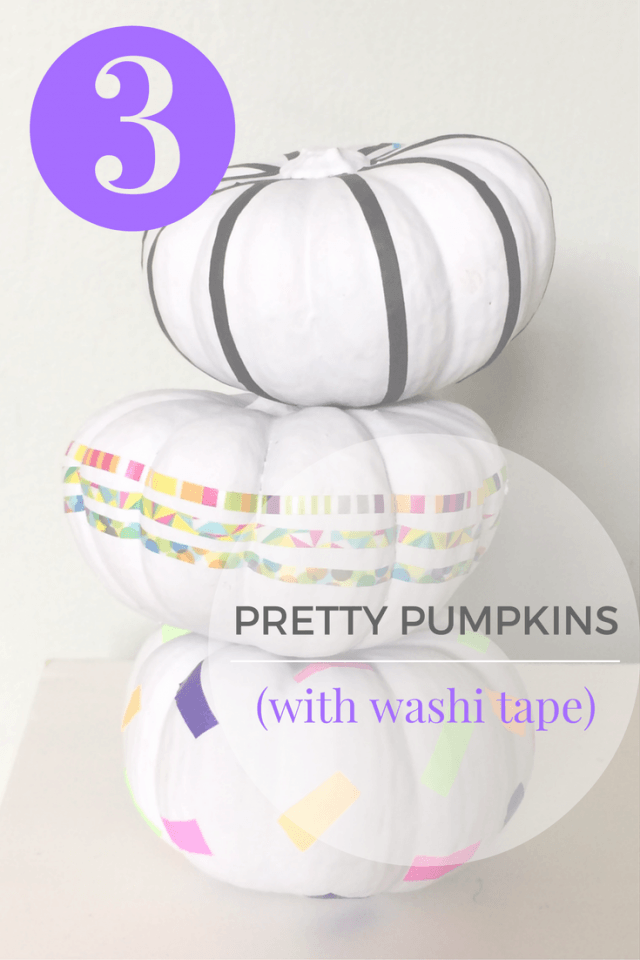
This week has been super busy, but we’ve still found time to make these easy peasy pretty washi tape pumpkins.
What you need to make mini washi tape pumpkins:
- mini pumpkins (these are called munchkins)
- matt paint (we used a Farrow & Ball test pot, but chalk paint would also work brilliantly)
- a paintbrush
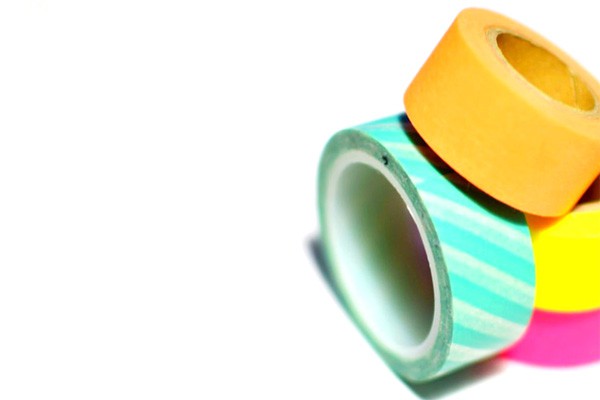
- assorted washi tapes, including bright colours & slim washi tapes
- scissors
How to make mini washi tape pumpkins:
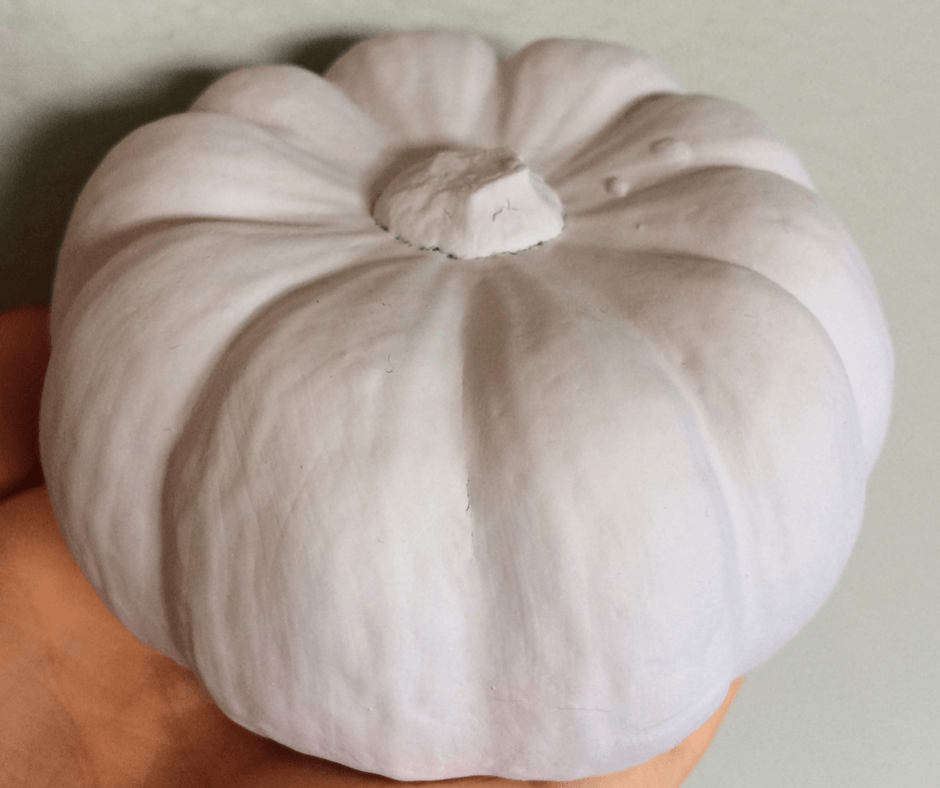
- Paint your mini pumpkins. Of course you can choose any colour you like. We opted for a pale, neutral paint colour to contrast with brightly coloured washi tapes. Two coats of paint should cover the orange of the pumpkin.
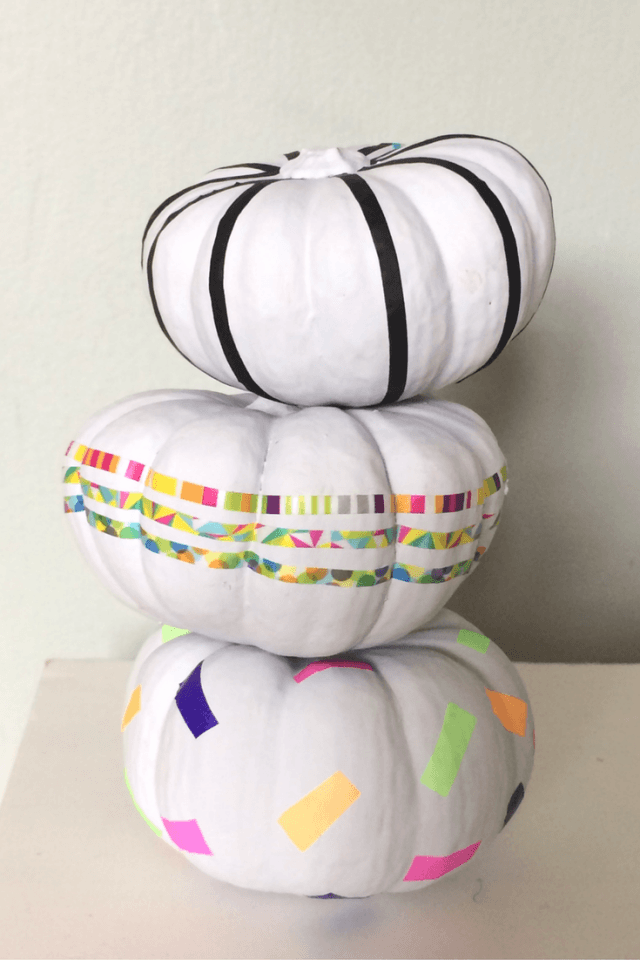
Allow to dry completely. - We chose to decorate our mini pumpkins three different ways. Each looks completely different, but only took a few minutes to finish.
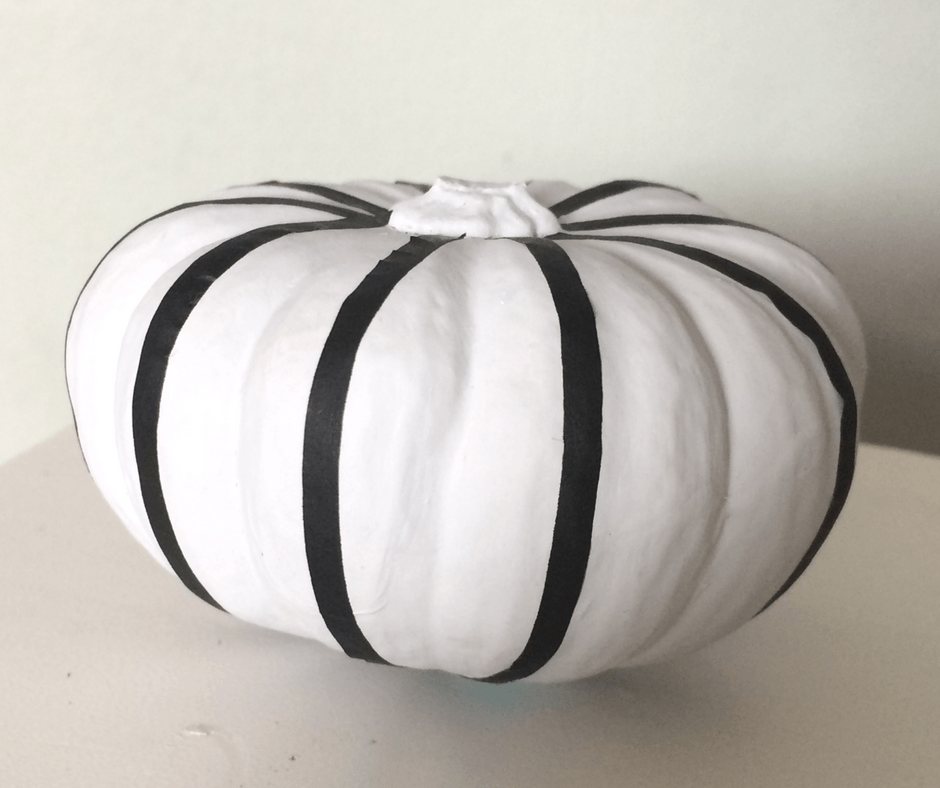
The chic pumpkin with slim black vertical washi tape stripes
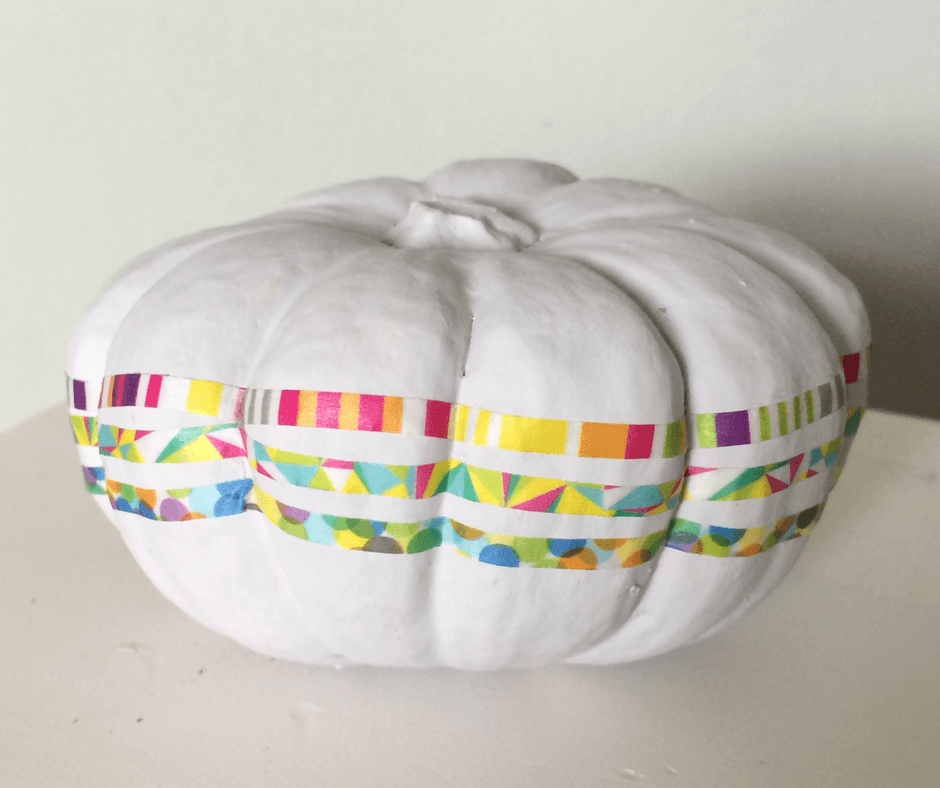
The colour pop pumpkin with horizontal washi tape stripes
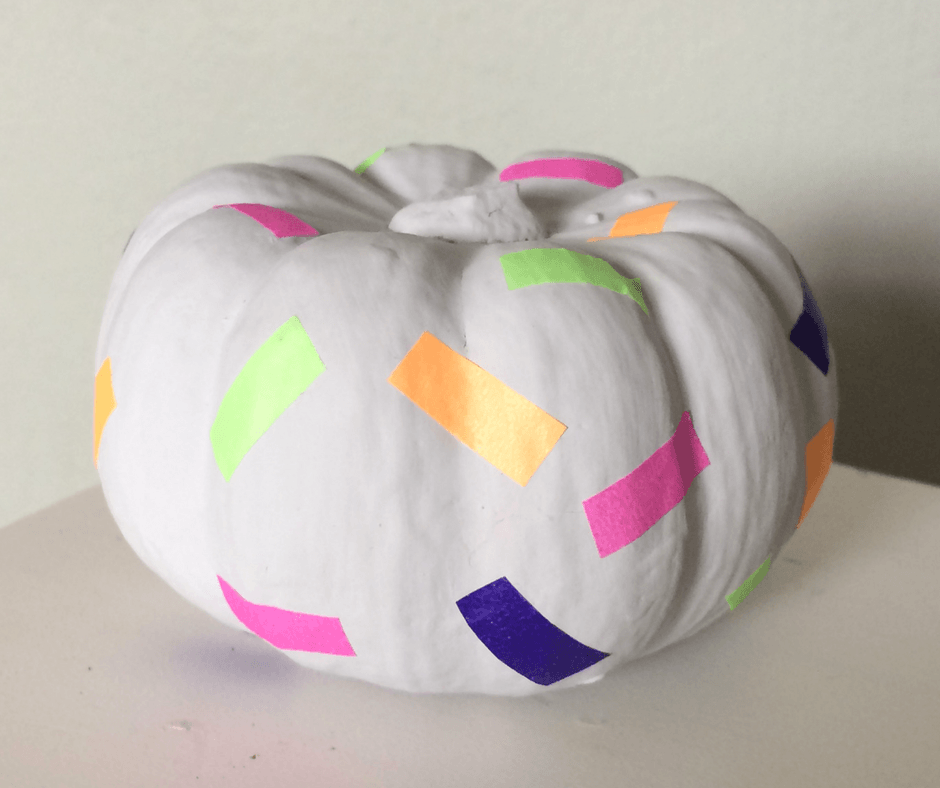
The confetti pumpkin with coloured washi tape sprinkles

Tips:
- When placing your washi tape on the painted pumpkins, be careful not to stick it too firmly until you are sure it is in the right position. This is because, while washi tape won’t damage the paint on your walls, it might cause paint to flake off the pumpkin (after all, paint is not designed for vegetables)!
- Once you’re happy with the positioning, be sure to run your nail over the washi tape in order to make sure it follows the natural surface of the pumpkin. This is especially important with the horizontal stripes.
We love all the pumpkins, but which one is your favourite..?